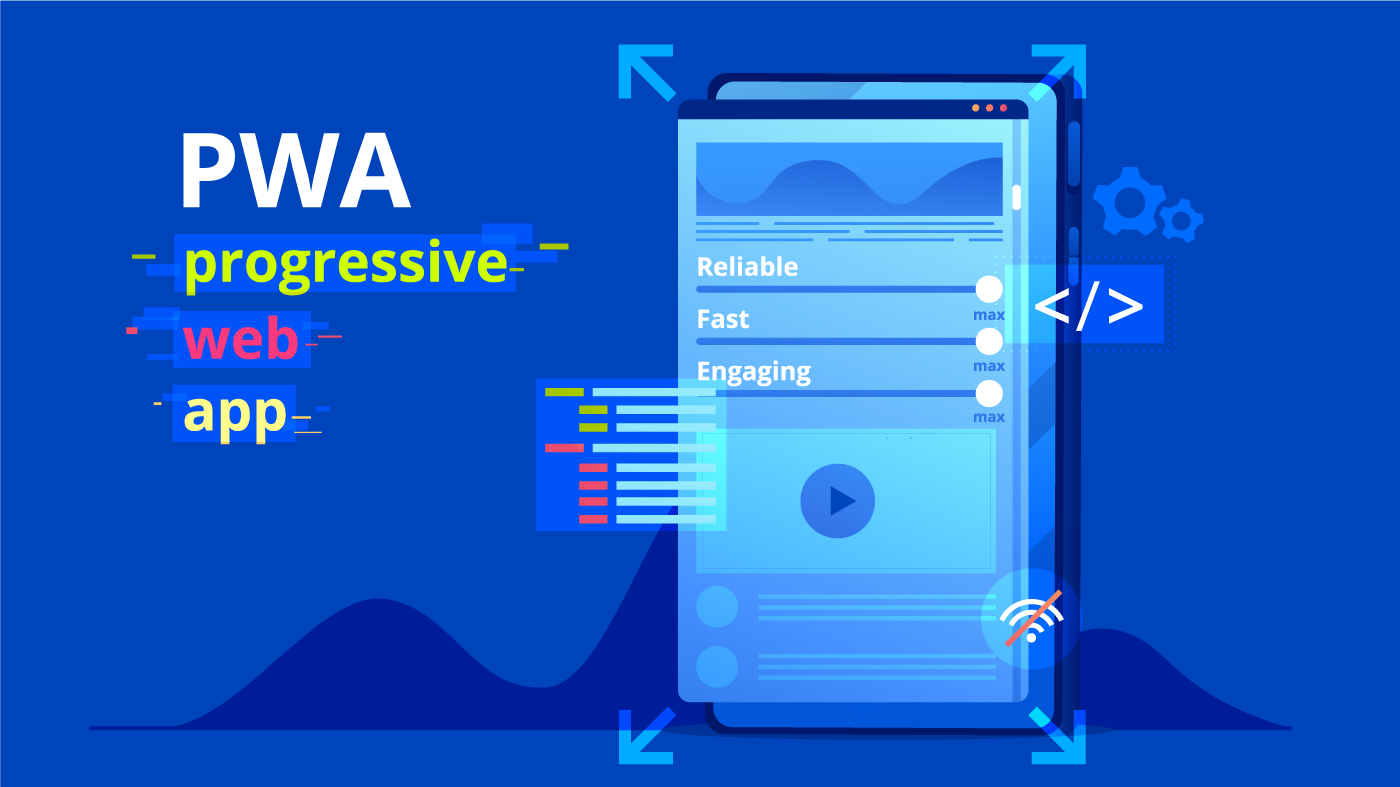
Progressive Web Apps (PWAs) have become increasingly popular in recent years due to their ability to offer a native-like experience to users within a web browser. PWAs can be installed on a user’s device and work offline, providing a seamless experience like that of a traditional mobile application.
Flutter is a popular open-source framework for building high-performance, cross-platform mobile applications for iOS and Android. In addition to mobile apps, Flutter can also be used to build PWAs, making it a versatile choice for developers.
In this article, we will discuss how to create a PWA using Flutter.
Flutter Progressive Web Apps (PWAs) offer several benefits, including:
- Cross-platform compatibility: Flutter PWAs can run on multiple devices, including desktops, mobile devices, and web browsers, with a single codebase.
- Improved performance: Flutter PWAs are fast and responsive, providing a native-like user experience to users.
- Offline functionality: PWAs can work offline or with slow internet connections, which makes them suitable for use in areas with poor connectivity.
- Improved accessibility: PWAs are accessible to users with disabilities, including those using assistive technologies.
- Easy to install: PWAs can be installed on the home screen of a device without having to go through an app store.
- Cost-effective: Developing a PWA with Flutter is more cost-effective than developing a native app for each platform.
- Easy to maintain: Flutter PWAs are easy to maintain, as updates can be rolled out to all users automatically.
- Better user engagement: PWAs provide a more seamless and engaging user experience, which can lead to increased user engagement and retention.
- Increased discoverability: PWAs can be found through search engines, which can make them more discoverable than native apps.
- Increased security: PWAs are served over HTTPS, which provides an added layer of security and protects user data.
- Better SEO: PWAs can be indexed by search engines, making them easier to find and increasing visibility.
- Improved user experience: PWAs provide a fast, seamless, and responsive user experience, which can improve user satisfaction and lead to increased engagement.
Steps to Create Basic PWAs with Flutter
-
First Step:Install Flutter:
To get started, you’ll need to install Flutter on your computer. To do this, follow the instructions on the Flutter website: https://flutter.dev/docs/get-started/install
-
Second Step:Create a new Flutter project:
Open a terminal and run the following command:
flutter create my_pwa
- Third Step:Add the web support to your Flutter project:
To add the web support to your Flutter project, run the following command in the terminal:
flutter create.
- Fourth Step:Update the pubspec.yaml file:
Add the following lines to your pubspec.yaml file to add the web support:
flutter:
# The following line ensures that the Material Icons font is
# included with your application, so that you can use the icons in
# the material Icons class.
uses-material-design: true
assets:
– assets/icon.png
# The following line adds support for web.
web:
# The following line allows the use of `index.html` as the default web
# entrypoint.
include:
– web/index.html - Fifth Step:Create a new index.html file:
To create a new index.html file, run the following command in the terminal:
flutter build web
- Sixth Step:Create a new Dart file:
To create a new Dart file, create a new file in your lib directory called main.dart.
- Seventh Step:Add the following code to your main.dart file:
import ‘package:flutter/material.dart’;
void main() => runApp(MyApp());
class MyApp extends StatelessWidget {
@override
Widget build(BuildContext context) {
return MaterialApp(
title: ‘My PWA’,
home: Scaffold(
appBar: AppBar(
title: Text(‘My PWA’),
),
body: Center(
child: Text(‘Hello World’),
),
),
);
}
} - Eighth Step:Add a Service Worker to cache all of the assets in the app:
Create a new file in your web directory called service-worker.js and add the following code to it:
let deferredPrompt;

// This code listens for the beforeinstallprompt event.

window.addEventListener('beforeinstallprompt', (e) => {

  e.preventDefault();

  deferredPrompt = e;

  deferredPrompt.prompt();

  deferredPrompt.userChoice.then((choiceResult) => {

    if (choiceResult.outcome === 'accepted') {

      console.log('User accepted the A2HS prompt');

    } else {

      console.log('User dismissed the A2HS prompt');

    }

    deferredPrompt = null;

  });

});

// This code caches all of the assets in the app.

self.addEventListener('install', (e) => {

  e.waitUntil(

    caches.open('my-pwa-cache').then

(cache => {

return cache.addAll([

'/',

'/index.html',

'/main.dart.js',

'/assets/icon.png'

]);

})

);

});

// This code fetches the assets from the cache.

self.addEventListener('fetch', event => {

event.respondWith(

caches.match(event.request).then(response => {

return response || fetch(event.request);

})

);

});
- Ninth Step:Register the Service Worker in ‘index.html’:
Add the following code to your ‘index.html’ file to register the Service Worker:
if ('serviceWorker' in navigator) {

    window.addEventListener('load', function () {

      navigator.serviceWorker.register('/service-worker.js').then(function (registration) {

        console.log('ServiceWorker registration successful with scope: ', registration.scope);

      }, function (err) {

        console.log('ServiceWorker registration failed: ', err);

      });

    });

  }
- Tenth Step:Build and run the PWA:
To build and run the PWA, run the following command in the terminal:
flutter run-d chrome
- Eleventh Step:Deploy your PWA to the web:
To deploy your PWA to the web, you can use a platform like Firebase or GitHub Pages.
The steps to deploy will vary depending on the platform you choose.
Congratulations! You have now created a PWA using Flutter. You can continue to develop and customize your PWA as you see fit.
Summary:
Building Progressive Web Apps (PWAs) with Flutter offers many benefits to developers and users alike.
PWAs are cross-platform compatible, fast, responsive, offline functional, accessible, easy to install, cost-effective, and secure.
By following the steps outlined in this article, you can create a basic PWA using Flutter and take advantage of these benefits.
With Flutter, developers can create high-performance PWAs that offer a native-like experience to users and provide an improved user experience, increased security, and better SEO.
So, we can say, using Flutter to build PWAs is a versatile and cost-effective option for developers looking to create engaging and accessible web applications.